06 March 2018
Kitty Containment
As Pixel got bigger, she was able to stretch across from the trees over to the top of the fence, walk its length, and subsequently over the house and to the neighbours via the carport etc...etc. To stop this I've installed a 20cm strip of polycarb along the face at the top of the fence line. Completely stopped her. Nowhere to stand. Kitty not keen to jump 3m directly to the ground (over the fence) simply to get out of her favorite playground. Mission accomplished.
The strip is literally invisible from a distance at certain angles. Here you can see Pix' up the tree, but not the clear guard.
Up close you can see the panel.
And it's visible with the sun behind you also.
Such a happy tree kitty
Cat on a car seat, that's become a cat seat...surrounded by cat-5 cable... :D
11 February 2018
Poor mans valve spring removal tools
I only have access to a very old clamp-style spring compressor. This requires the head to be off the car unlike an overhead spring compressor or hammer-tube gizmo.
Also, my springs are below the top of the head, so the compressor needs an extension which I don't have, and is sorta' a specialised tool.
So I made a compressor extension out of plastic tubing which exploded. I upgraded to a piece of modified brass tube. That works pretty well.
I then created a magnetic-hammer-tube gizmo to get the keepers off. Wow that works well. Unfortunately I don't have the insertion tool, so I still have to use the clamp-compressor to get the keepers back on. Still a massive speed upgrade though.
A modified piece of scrap tubing will act as an extension to the spring compressor
It's really awkward to use, but does the job.
So I made a classic hammer-magnet keeper release tool. Two hard drive magnets are taped to the end of a piece of scrap tubing.
You place it on the end of the spring and give it a good hard whack with the hammer.
The cap and the keepers explosively jump off, but are retained by the magnets.
Two keepers snugly held inside the tube thanks to magnet power
...so that sped things up a lot.
03 February 2018
Magna TF Head gasket kit and timing belt replacement - engine in place.
Personal reference photos. Some operations may be out of order. Attempting to leave engine installed. One engine mount (of the three) will need to be removed as it keeps the timing belt captive.
I destroyed the allen key socket of two of the 10mm head bolts in the rear head of the Magna V-motor. Twice the work...maximum pain. There's no way I'm getting these out. They're long settled in, 190nM tension by spec (That's ~200kg at a 1 meter leverage on a torque point...that's HUGE) and it broke me trying to remove the other ones with relatively short breaker bars on a regular 10mm toy allen key. They need premium tool engagement which I didn't have on the two that failed... I should have simply cut the ends off the key I had, and put it into a regular 10mm socket with a 3/8 or 1/2 drive and proper breaker bar.
I need to grind the heads of these head-bolts off. Free handing will result in a random accident. I can't mount the head in a mill because it's still attached to the car!! I've used the other head which I was able to remove as an easy-access template to make a drilling jig.
I can bolt this jig down with the valve rocker arm securing bolts, and drop a milling bit into the hole. A regular hand drill attached will do the work.
A second hole is placed for the other head bolt position that I wrecked. Flipping the jig over allowed me to reuse the mounting holes. Hopefully I can grind my way through these high tensile bolts.
I modified a 20mm 4tooth endmill so I could use it in a regular ~12.5mm drill chuck.
Add mustard to all lubrication points...
Getting there.
Both bolt heads ground off. Engine head pulled off. Bolt shanks still bolted to the block. With no tension on them I was able to wind them out with my fingers.
Magna TF V6 3L head removal without pulling the engine out...contrary to instructions in the workshop manual... Gizmology FTW.
Spot the culprit buring oil. (exhaust manifold)
Spot the nasty oil leaking exhaust.
Manifold tipped up to see the bottom. Blargh look at that char buildup protruding out of the exhaust port at the top!! Likewise you can see the dark gritty dead oil around the head/block ports that were leaking into the combustion chamber. New head gasket gonna make things all betterer...
Terrible shot, but you can see the ground through the bay here where the timing belt would normally be...notice an engine mount removed... Secondary mission accomplished, remove timing belt without removing the engine from the car as the workshop manual instructions would have had you do. Pro gaming.
I destroyed the allen key socket of two of the 10mm head bolts in the rear head of the Magna V-motor. Twice the work...maximum pain. There's no way I'm getting these out. They're long settled in, 190nM tension by spec (That's ~200kg at a 1 meter leverage on a torque point...that's HUGE) and it broke me trying to remove the other ones with relatively short breaker bars on a regular 10mm toy allen key. They need premium tool engagement which I didn't have on the two that failed... I should have simply cut the ends off the key I had, and put it into a regular 10mm socket with a 3/8 or 1/2 drive and proper breaker bar.
I need to grind the heads of these head-bolts off. Free handing will result in a random accident. I can't mount the head in a mill because it's still attached to the car!! I've used the other head which I was able to remove as an easy-access template to make a drilling jig.
I can bolt this jig down with the valve rocker arm securing bolts, and drop a milling bit into the hole. A regular hand drill attached will do the work.
A second hole is placed for the other head bolt position that I wrecked. Flipping the jig over allowed me to reuse the mounting holes. Hopefully I can grind my way through these high tensile bolts.
I modified a 20mm 4tooth endmill so I could use it in a regular ~12.5mm drill chuck.
Add mustard to all lubrication points...
Getting there.
Both bolt heads ground off. Engine head pulled off. Bolt shanks still bolted to the block. With no tension on them I was able to wind them out with my fingers.
Magna TF V6 3L head removal without pulling the engine out...contrary to instructions in the workshop manual... Gizmology FTW.
Spot the culprit buring oil. (exhaust manifold)
Spot the nasty oil leaking exhaust.
Manifold tipped up to see the bottom. Blargh look at that char buildup protruding out of the exhaust port at the top!! Likewise you can see the dark gritty dead oil around the head/block ports that were leaking into the combustion chamber. New head gasket gonna make things all betterer...
Terrible shot, but you can see the ground through the bay here where the timing belt would normally be...notice an engine mount removed... Secondary mission accomplished, remove timing belt without removing the engine from the car as the workshop manual instructions would have had you do. Pro gaming.
09 December 2017
Table Saw Motor upgrade
My table saw is pretty cheap. The motor is a gear reduced universal motor. Literally sounds like a gunshot when spinning up, is incredibly noisy, and vibrates like mad.
I'm not 100% happy with precision on the Radial Arm Saw but the motor is awesome, so I'm going to transplant that into the old table saw. I've already used the Radial Legs as a stand for the Drop Saw, and I plan on using the Radial-Lift for a Router-lift in future.
The awesome motor is a single phase induction motor with multiple coils. It's running the wrong direction. Dad and I had a shot at reversing it, but got unlucky with the design. I'm going to have to use the table saw from the other direction.
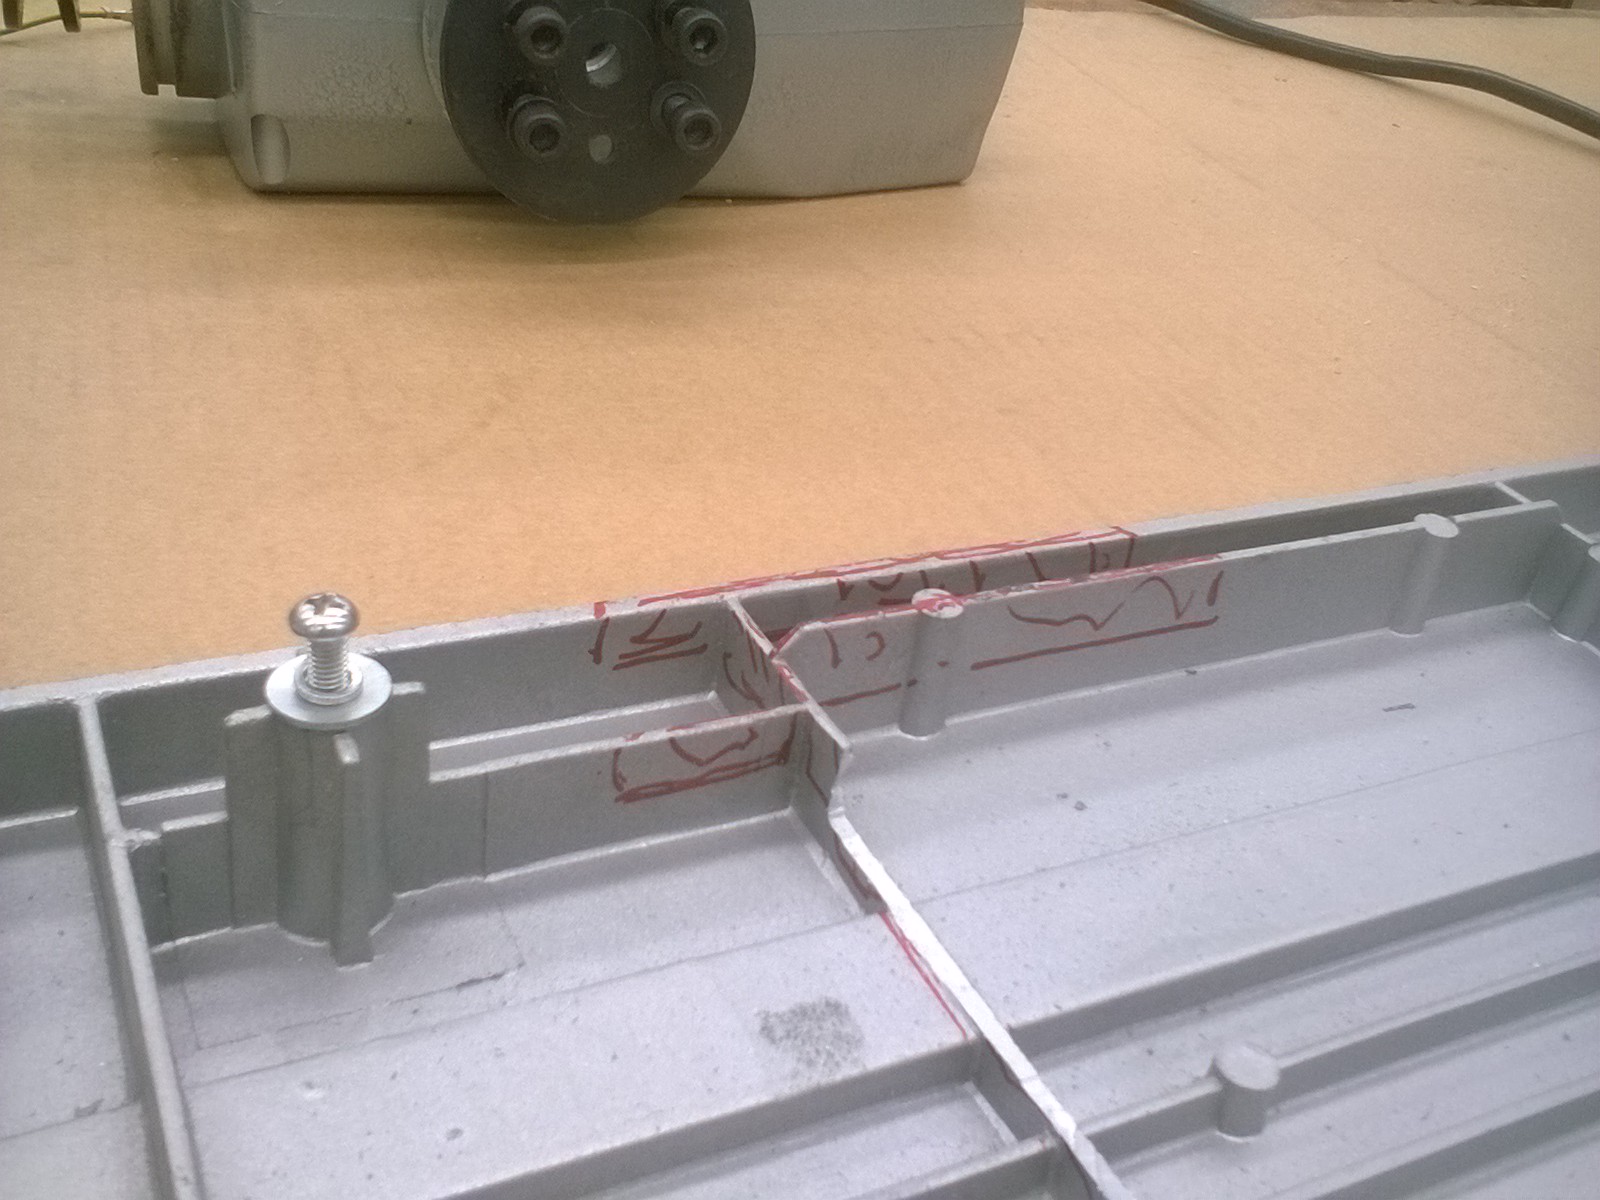
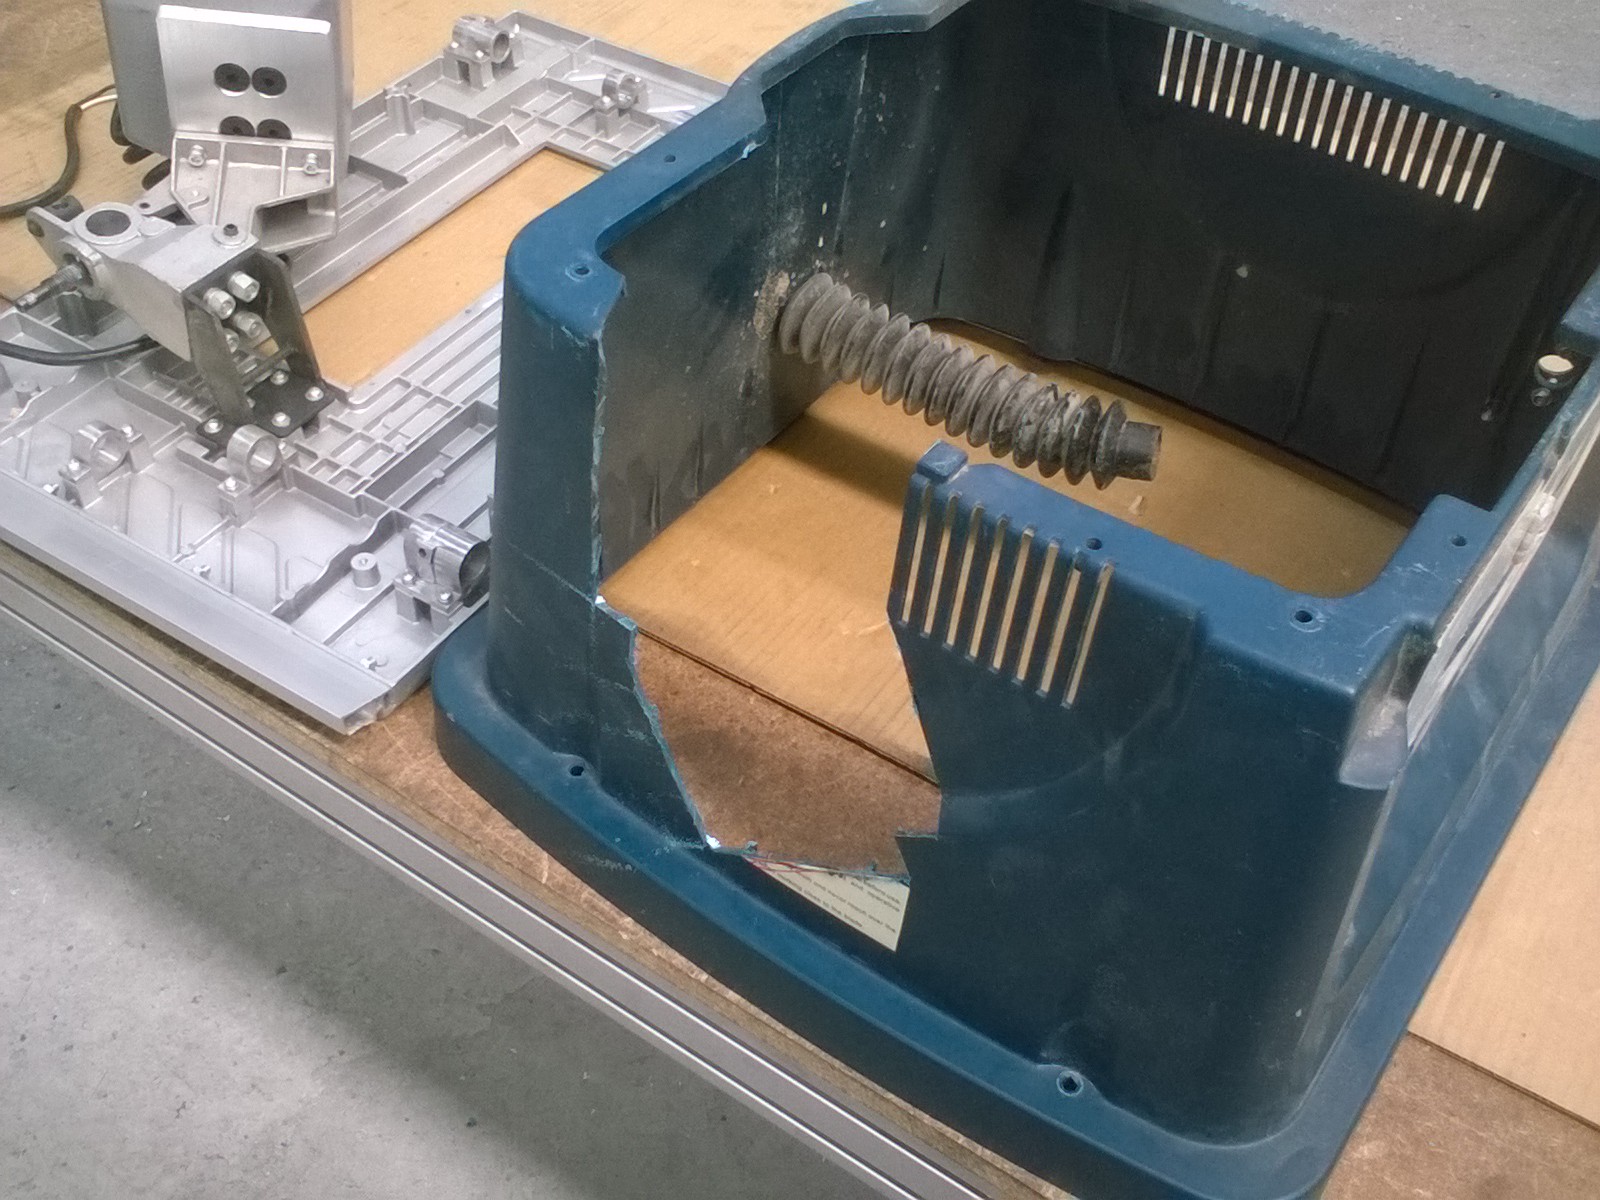
I whipped up a custom mounting plate at work. I used a surface gauge for the first time because verniers simply wouldn't do the job. (Not to be confused with a dial-indicator setup) Some drink-can and plastic take-out-container shims were used to align various elements. I milled out some additional space for the larger motor to fit more closely to the table surface, hogged out huge chunks from the side of the case to accommodate the larger motor (keep in mind it's a height adjustable miter saw), and made a new custom fence which is superior to the original. Overall really happy with the build. Misc pics below.
Labels:
hobby timber
Subscribe to:
Posts (Atom)